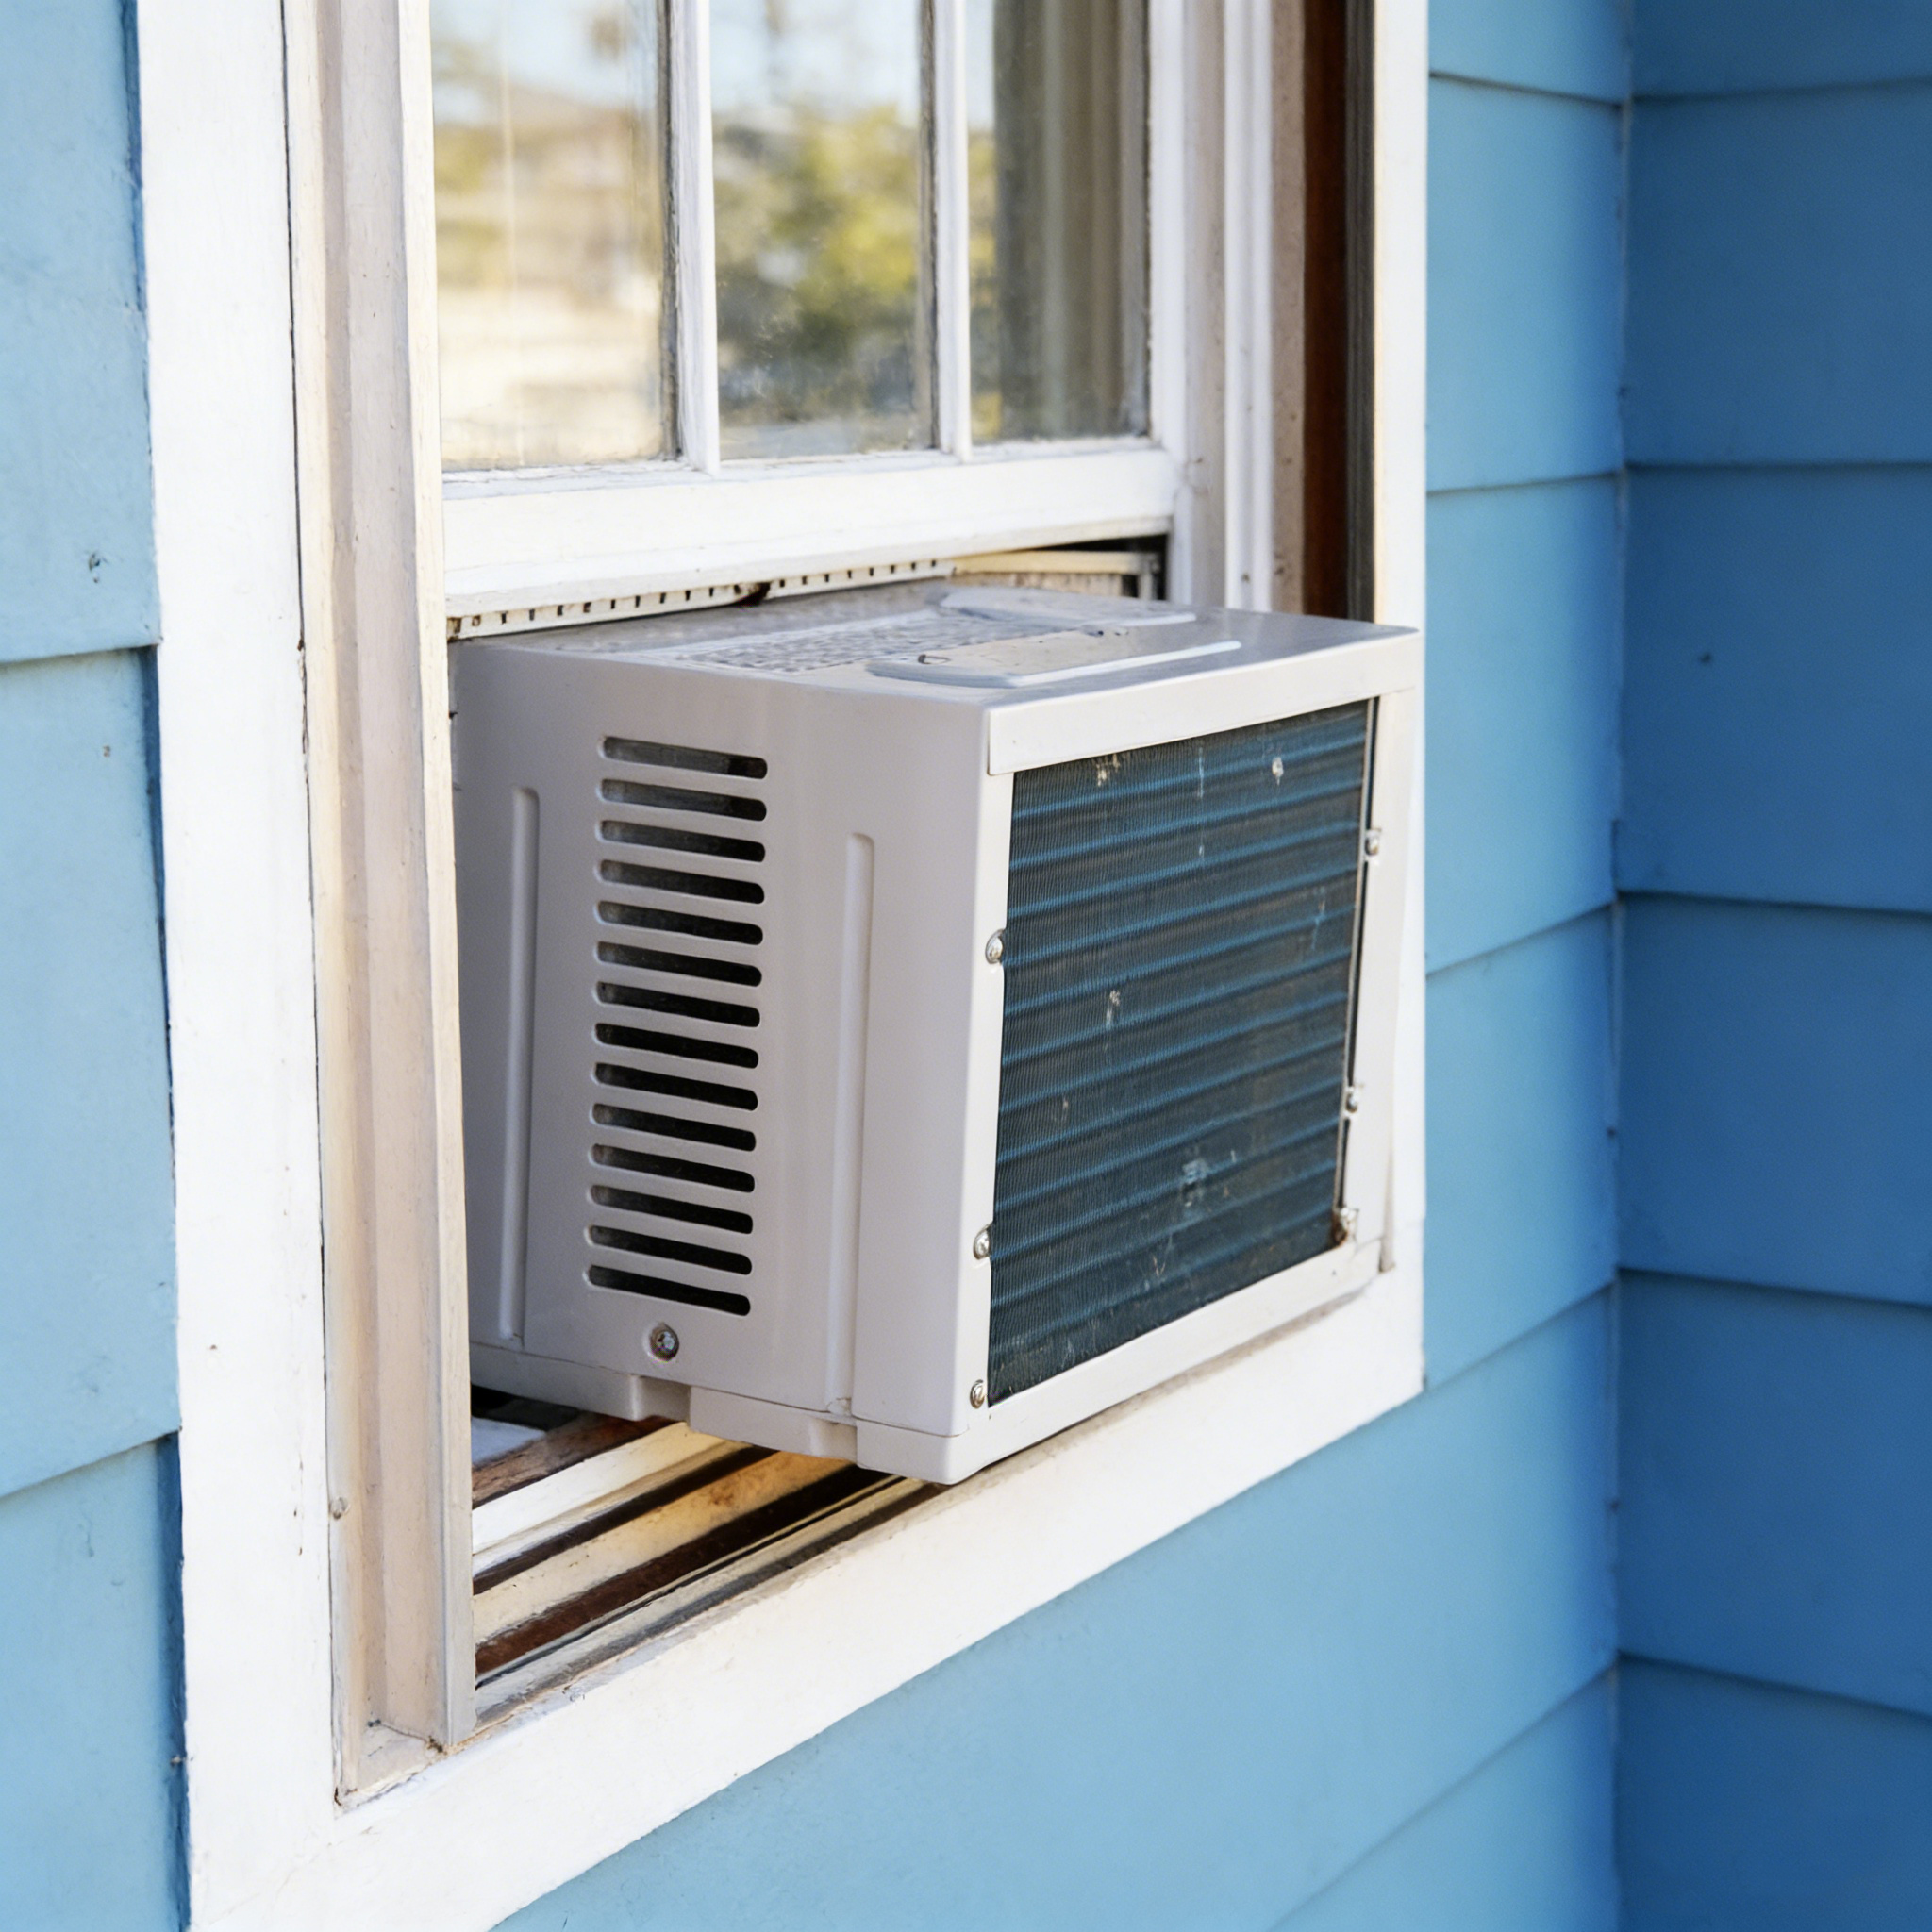
A clean window air conditioner isn’t just about fresher air—it’s about maintaining peak cooling efficiency, cutting energy bills, and extending the unit’s lifespan. Over time, dust, mold, and grime buildup can clog filters, coil fins, and drainage systems, leading to weak airflow, higher electricity usage, and even unpleasant odors. The good news is that deep cleaning a window AC is a DIY-friendly task that requires no special tools. Follow this step-by-step guide to get your unit running like new again.
Pre-Clean Preparation: Safety & Tools
Before you start, unplug the unit to avoid electric shock. Gather your supplies:
- Screwdriver (for removing panels)
- Soft-bristle brush and microfiber cloths
- Vacuum cleaner with a brush attachment
- Spray bottle (for homemade cleaners)
- Mild dish soap or white vinegar (for disinfection)
- AC fin comb (to straighten bent fins)
- Paper clip or cotton swab (for unclogging drains)
Wear rubber gloves and a dust mask if you’re sensitive to dust or mold spores.
Step 1: Remove and Clean the Air Filter (Critical!)
The filter is the first line of defense against dust and the most frequently cleaned part.
- Remove the panel: Most window ACs have a snap-on front panel; for screw-on models, use a screwdriver to detach it.
- Extract the filter: Slide the filter out from behind the panel (look for an arrow indicating the correct direction).
- Prep the filter: Vacuum off loose dust, then rinse it with warm water. For heavy dirt, soak it in warm, soapy water for 10–15 minutes, then gently scrub with a soft brush.
- Dry thoroughly: Rinse away all soap residue and let the filter air-dry completely. A damp filter breeds mold and reduces airflow.
Step 2: Deep Clean the Coils and Fins
The evaporator and condenser coils, along with aluminum fins, are the “engine” of your AC—dirty coils force it to work harder.
- Vacuum debris: Use the vacuum’s soft brush attachment to remove dust from the coils, fan blades, and fin gaps.
- Apply cleaner: Spray a solution of warm water + mild soap or white vinegar (1:1 ratio) on the coils and fins. Let it sit for 5–10 minutes to break down grime.
- Wipe gently: Use a microfiber cloth to wipe away dirt. For fin gaps, use a toothbrush—brush with the fin’s direction to avoid bending them.
- Straighten fins: Bent fins block airflow. Use an AC fin comb to slowly straighten them by running the comb along the fin lines.
Step 3: Clean the Drain Pan and Drain Hole (Prevent Leaks & Mold)
Standing water in the drain pan is a breeding ground for mold and a common cause of indoor leaks.
- Wipe the pan: At the base of the unit, use a damp cloth to clean the drain pan. For mold, wipe it with a cloth dipped in 3% hydrogen peroxide for disinfection.
- Unclog the drain hole: Locate the small drain hole at the back/bottom of the unit. Use a paper clip or cotton swab to clear blockages. You can also blow compressed air into the hole to dislodge debris.
- Check for cracks: Inspect the pan for cracks; if found, seal them with a waterproof AC pan sealer to prevent leaks.
Step 4: Wipe Down the Exterior
- Use a damp cloth to clean the outer casing, vents, and front panel. Wipe away dust and dirt that can block airflow to the unit.
Step 5: Reassemble & Test
- Reinstall the filter: Slide the completely dry filter back into place (follow the arrow for correct orientation).
- Reattach the panel: Snap the front panel back on or screw it into place.
- Power on and test: Plug in the unit and run it for 5–10 minutes. Check for proper cooling, no strange noises, and no leaks.
How Often to Clean Your Window AC
- Filter cleaning: Every 30 days (especially in summer, with heavy use).
- Full deep clean: Every 3 months. If you have pets, allergies, or live in a dusty area, clean the filter every 2 weeks and do a light wipe-down of the interior monthly.
By following this guide, you’ll keep your window AC efficient, fresh-smelling, and reliable for years to come!